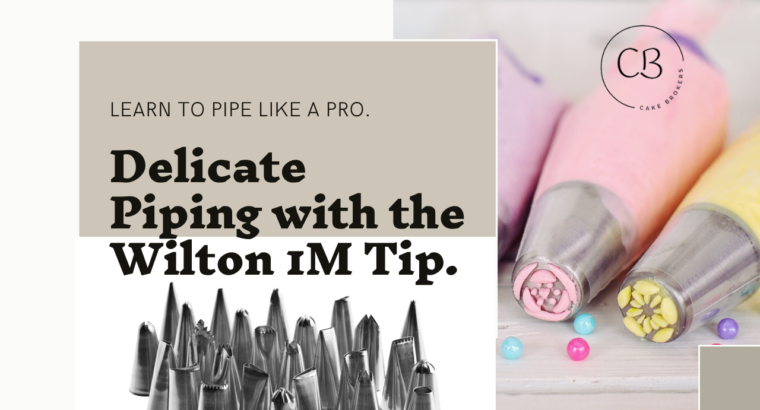
Delicate Piping with the Wilton 1M Tip: How to Decorate a Cake
Are you looking to elevate your cake decorating skills with delicate piping using the Wilton 1M tip? Discover the step-by-step guide below for creating beautiful rosettes and swirls that will impress any crowd.
Materials Required:
- Baked and cooled cake
- Buttercream frosting
- Wilton 1M piping tip
- Piping bag
- Coupler (if using multiple tips with one bag)
- Gel food coloring (optional)
- Turntable (optional but recommended)
Step-by-Step Instructions:
1. Prepare the Cake:
Ensure your cake is completely cooled before starting the decorating process. A chilled cake is easier to work with and prevents the frosting from melting.
2. Prepare Buttercream Frosting:
Make a batch of your favorite buttercream frosting. Whether it’s a classic vanilla or a customized flavor, having the right consistency is key for successful piping. Consider tinting the frosting with gel food coloring for a personalized touch.
3. Fill the Piping Bag:
Attach the Wilton 1M tip to the end of your piping bag using a coupler if necessary. Fill the piping bag with the prepared buttercream frosting, ensuring there are no air pockets.
4. Practice on Parchment Paper:
Before decorating the cake, practice piping rosettes and swirls on a piece of parchment paper or a plate. This helps you familiarize yourself with the pressure needed to create the desired shapes.
5. Position the Cake:
Place the cooled cake on a turntable if available. A turntable facilitates easy rotation of the cake while piping, resulting in smoother and more consistent decorations.
6. Pipe the Border:
For a decorative border around the top edge of the cake, start by piping a simple shell border. Hold the piping bag at a 45-degree angle and squeeze the frosting while moving the bag in a zigzag motion.
7. Pipe Rosettes or Swirls:
To create rosettes or swirls, position the piping bag directly above the cake. Start from the center, apply even pressure, and pipe in a circular motion, moving outward. Release pressure and lift the tip when the desired size is reached.
8. Fill in the Gaps:
Continue piping rosettes or swirls, filling in any gaps between them. Maintain consistent pressure to ensure uniformity across the cake.
9. Experiment with Colors:
If you’ve tinted your frosting with different colors, get creative by creating an ombre effect or mixing colors for a visually appealing design.
10. Clean Up Edges (Optional):
Use an offset spatula or a bench scraper to clean up the edges of the cake, ensuring a neat finish.
11. Refrigerate the Cake:
If your kitchen is warm, consider refrigerating the cake briefly to help the frosting set.
Now, you have a stunningly decorated cake with delicate piping using the Wilton 1M tip. Elevate your cake decorating game and get creative with various designs and colors to suit any occasion!


